How I Brought My Arch Linux Experience to Windows: A Complete Customization Journey
How I Brought My Arch Linux Experience to Windows
Hey there! If you’re reading this, you might be like me—a Linux enthusiast, specifically an Arch Linux user, who’s stuck using Windows for work. I get it. For a long time, I missed the simplicity and power of my Arch setup whenever I had to switch back to Windows for office work. So, I set out on a journey to bring as much of my Linux experience as possible into my Windows environment.
In this post, I’ll walk you through how I customized my Windows setup to get that familiar Linux feel, from tweaking the terminal to managing windows with tiling, all using open-source tools.
Step 1: Finding a Good Terminal
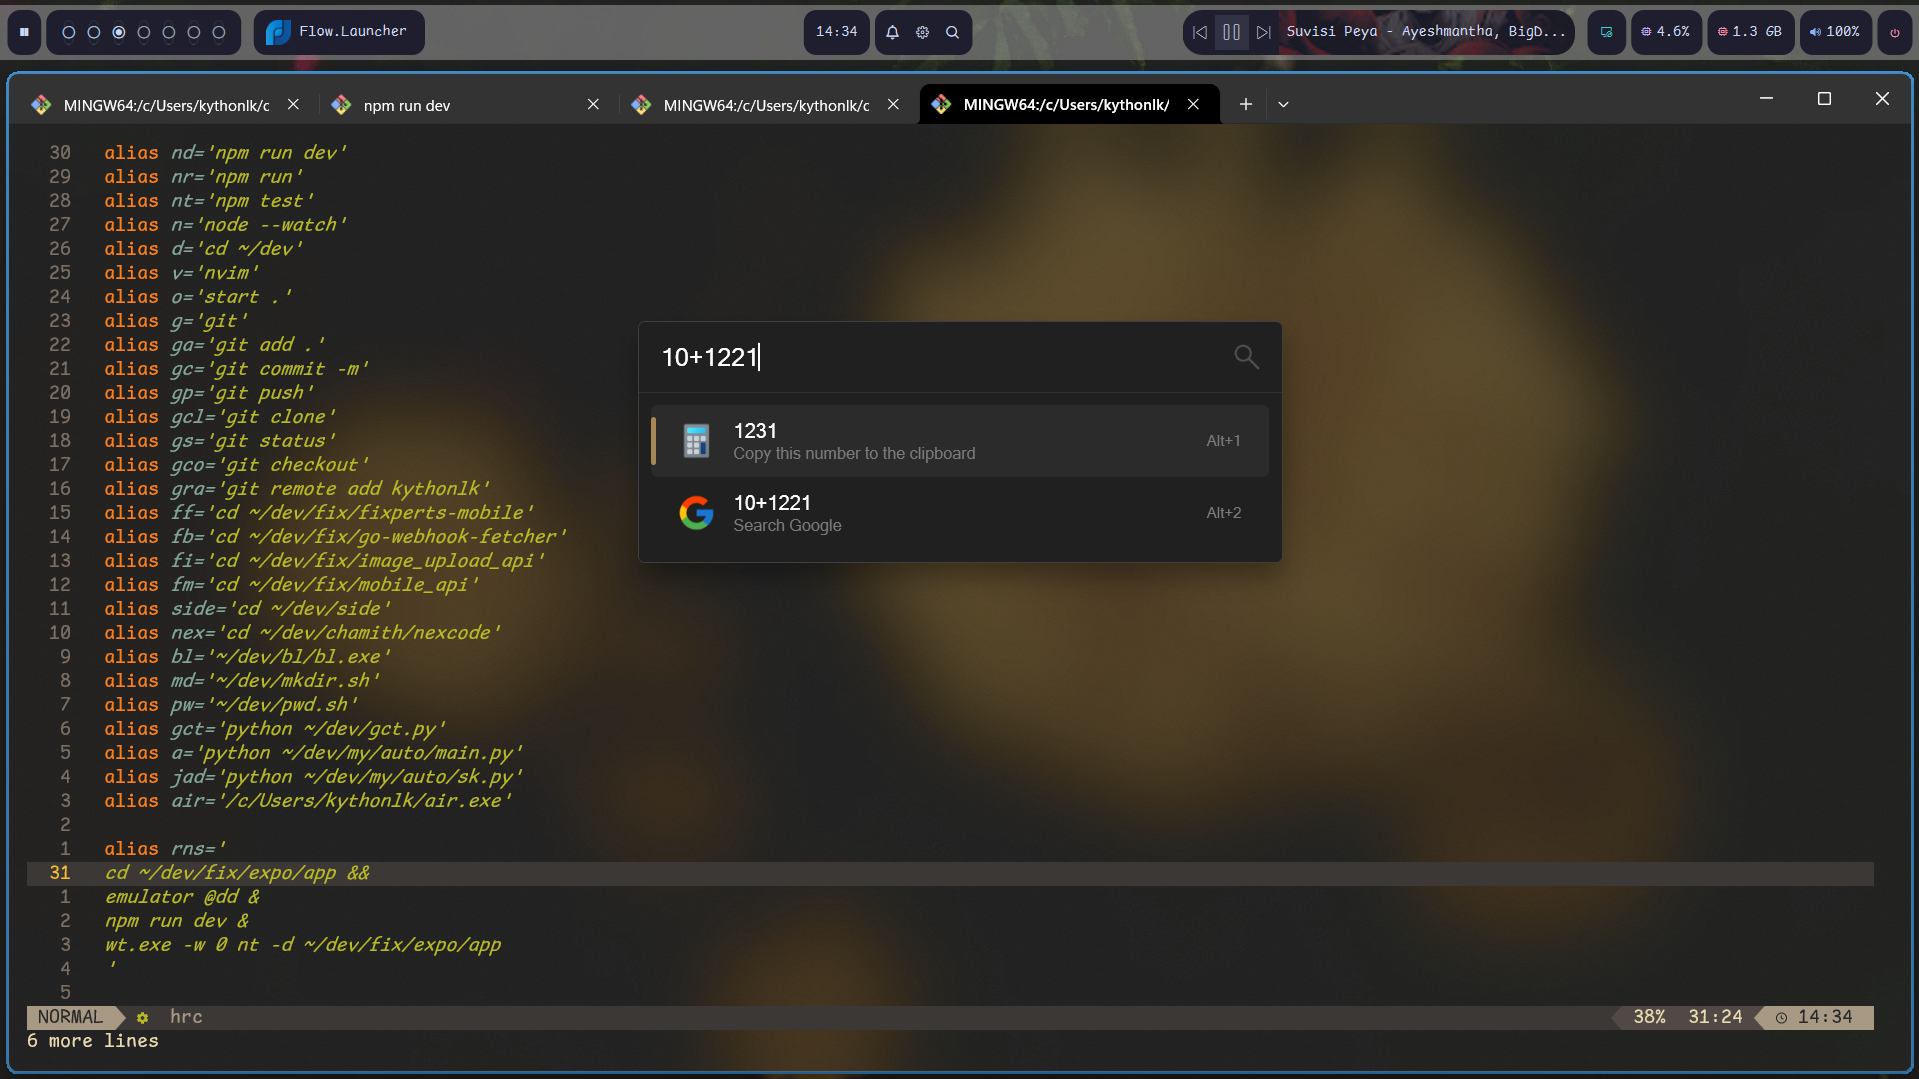
One of the first things I missed about Linux on Windows was the terminal experience. Windows Command Prompt and even PowerShell just don’t cut it if you’re used to the speed and flexibility of a Linux terminal. So, after some research, I found the Windows Terminal, and it turned out to be a great starting point.
The Windows Terminal offers tabs, support for multiple profiles, and customization options, making it much more powerful than the default Windows options. To really get that Linux-like experience, I added Git Bash as a profile. This gave me access to the basic bash utilities that I’m used to, directly within Windows.
Customizing the Look and Feel
To take things up a notch, I installed a Nerd Font. These fonts include icons and symbols that can make your terminal prompts look a lot cleaner and more informative. On top of that, I added Oh My Posh for prompt customization. Oh My Posh allows you to create a stunning, personalized prompt with sections for Git status, the current directory, time, and much more. It felt like a mini version of my Arch setup in no time!
How to Set This Up:
- Install Windows Terminal from the Microsoft Store.
- Install Git for Windows, which includes Git Bash.
- Set up Git Bash as a profile in Windows Terminal.
- Install Nerd Fonts from Nerd Fonts.
- Install Oh My Posh by following their official guide.
The combination of these tools brought a huge improvement to my terminal experience on Windows. Most of my usual commands like ls, cat, grep, and even piping worked just as they would in Linux.
Step 2: Filling in the Missing Utilities
While Git Bash provides a good number of essential bash utilities, I still found myself missing a few powerful Linux tools I relied on for daily tasks. That’s when I discovered some fantastic open-source tools that work seamlessly on Windows:
- jq: A command-line JSON processor, perfect for working with APIs and handling structured data. .
- ripgrep (rg): A super fast search tool, much faster than
grepand great for searching codebases. - fzf: A fuzzy finder for searching through directories or command history, essential for speeding up your workflow.
- SSH: Now built into Windows, making it easy to connect to remote servers without needing to install extra software.
How to Install These Tools:
- jq: You can install jq via
choco install jq(if you have Chocolatey installed) or download it directly from jq’s website. - ripgrep (rg): Install via
choco install ripgrepor from GitHub. - fzf: Install via fzf for Windows.
- SSH: No need to install; just type
sshin your terminal to use the built-in SSH client on Windows.
Once I had these utilities, my terminal became even more powerful. I was able to work almost exactly as I did in Linux, with fast searches, easy JSON parsing, and remote server access.
Step 3: Configuring Neovim
Next up was my code editor. On Linux, I use Neovim for almost all of my development work. I was relieved to find that Neovim works just as well on Windows! The best part? I didn’t even need to change my configuration files—they worked perfectly in my Windows setup.
How to Install Neovim on Windows:
- Download Neovim from the Neovim releases page.
- Copy your Linux
.config/nvimfolder into the equivalent directory on Windows (typically inC:\Users\<YourUser>\AppData\Local\nvim). - Install plugins using your usual Neovim plugin manager like vim-plug.
Now, I had my familiar development environment on Windows without sacrificing the speed or customization I loved in Neovim.
Step 4: Getting Linux-Like Tiling on Windows
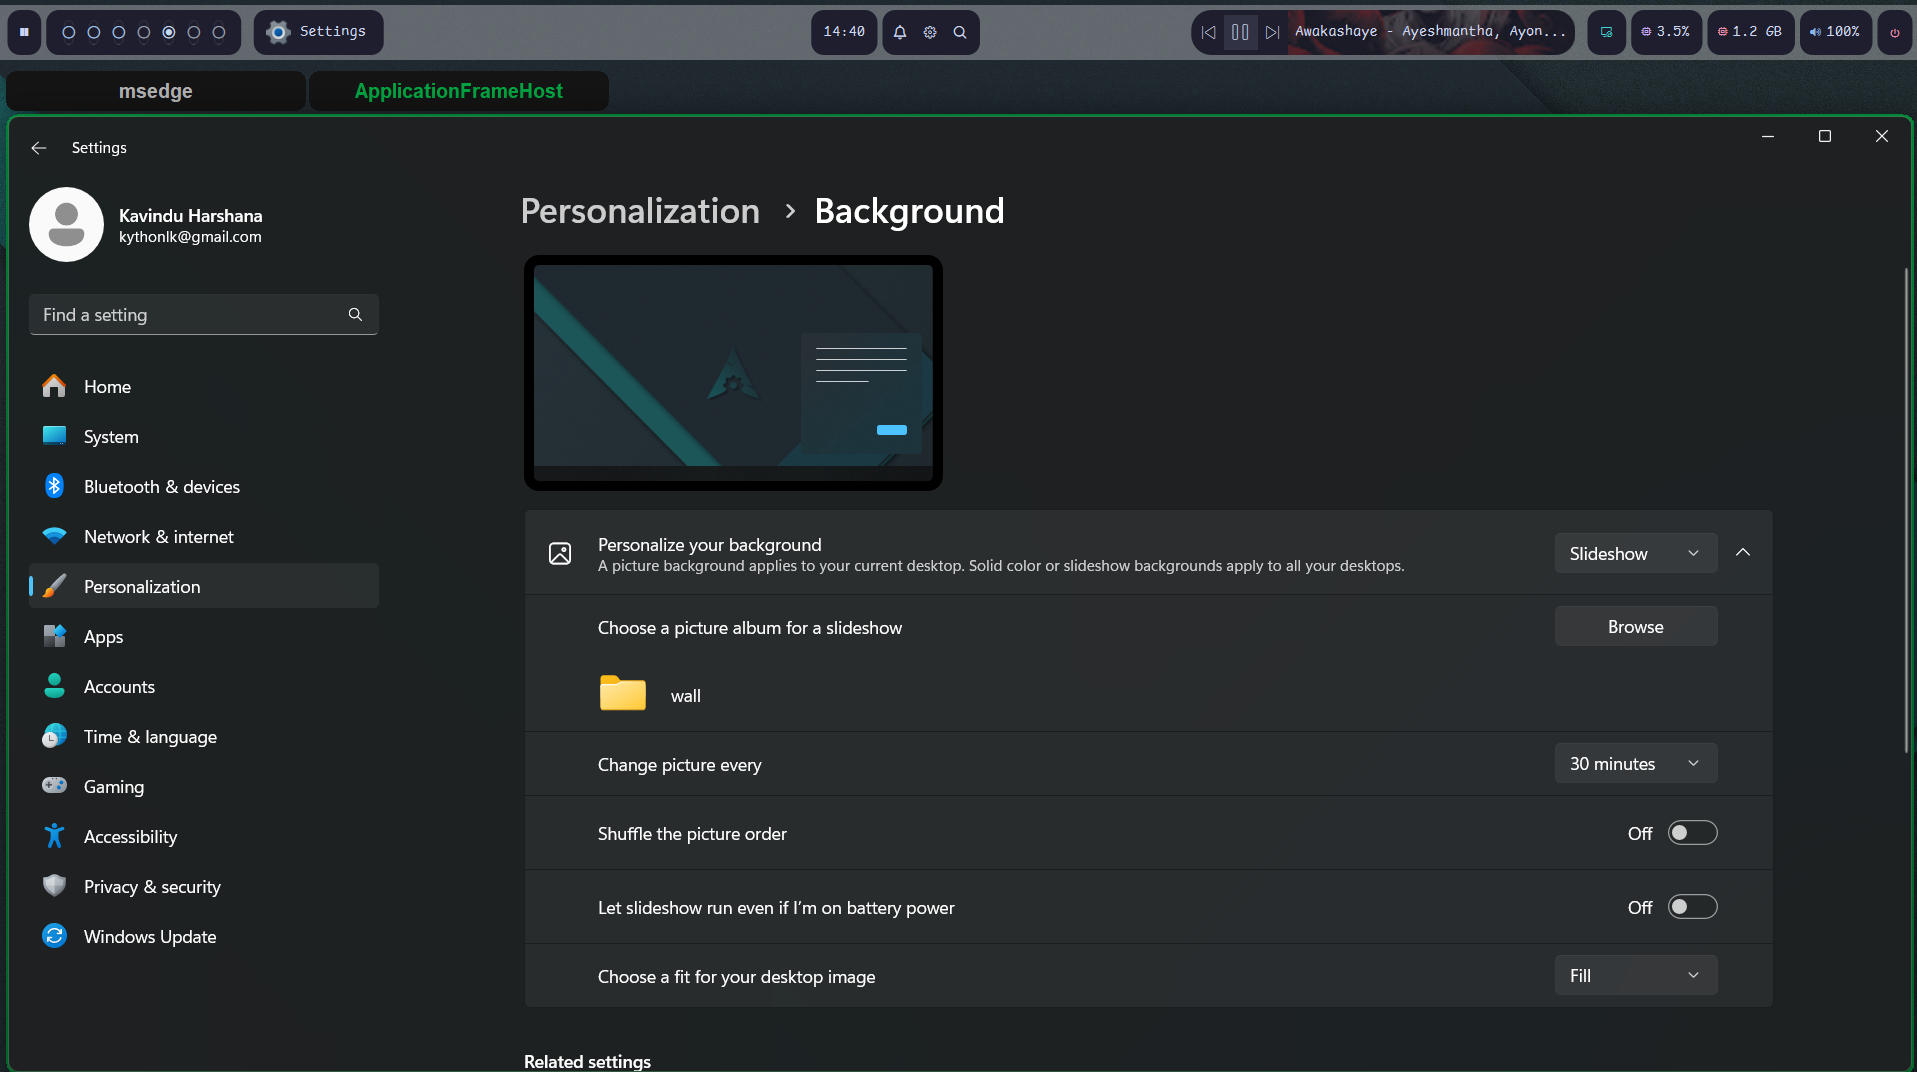
One of the things I truly missed was the tiling window management you get in Linux. After months of research and trying various tools, I came across two open-source projects that gave me exactly what I needed:
- Yasb: A simple tiling window manager that allowed me to arrange windows on my desktop just like I did in Linux.
- Komorebic: Another tiling window manager that offered more advanced features and customization options.
With these tools, I was able to set up window tiling and manage my workspace efficiently, just like I would in my Arch setup. Adding custom styles using CSS made it even better, allowing me to tailor everything exactly to my liking.
How to Set Up Tiling Window Managers:
- Install Yasb and Komorebic by following their installation guides on GitHub or Komorebic.
- Configure the tiling layouts using their documentation, and apply custom styles with CSS.
- Map hotkeys to easily move and resize windows, maximizing your productivity, taskbar.

Step 5: Adding Rofi-Like App Launcher
Another thing I loved from Linux was Rofi for launching apps and running commands. On Windows, I found a great alternative in Flow Launcher. It works similarly to Rofi, giving me quick access to applications, files, and even web searches right from a simple, minimal interface.
How to Set Up Flow Launcher:
- Install Flow Launcher from Flow Launcher’s GitHub page.
- Customize the appearance and functionality through plugins and hotkeys.
With Flow Launcher, I now had a super-fast way to launch applications and search through files, just like Rofi in Linux.

Final Thoughts
After months of tweaking, I’m really happy with how my Windows setup mirrors my Arch Linux environment. From the terminal and Neovim, to tiling window management and quick app launching, I’ve been able to create a productive workspace on Windows that feels just like home. It’s not a perfect one-to-one Linux experience—there are still a few things I miss—but for now, it’s working great.
If you’re someone who misses your Linux workflow on Windows, give some of these tools a try. You might find that it makes your Windows experience a lot more enjoyable.
Thanks for reading, and feel free to drop a comment if you have any questions or suggestions on how to further improve this setup!