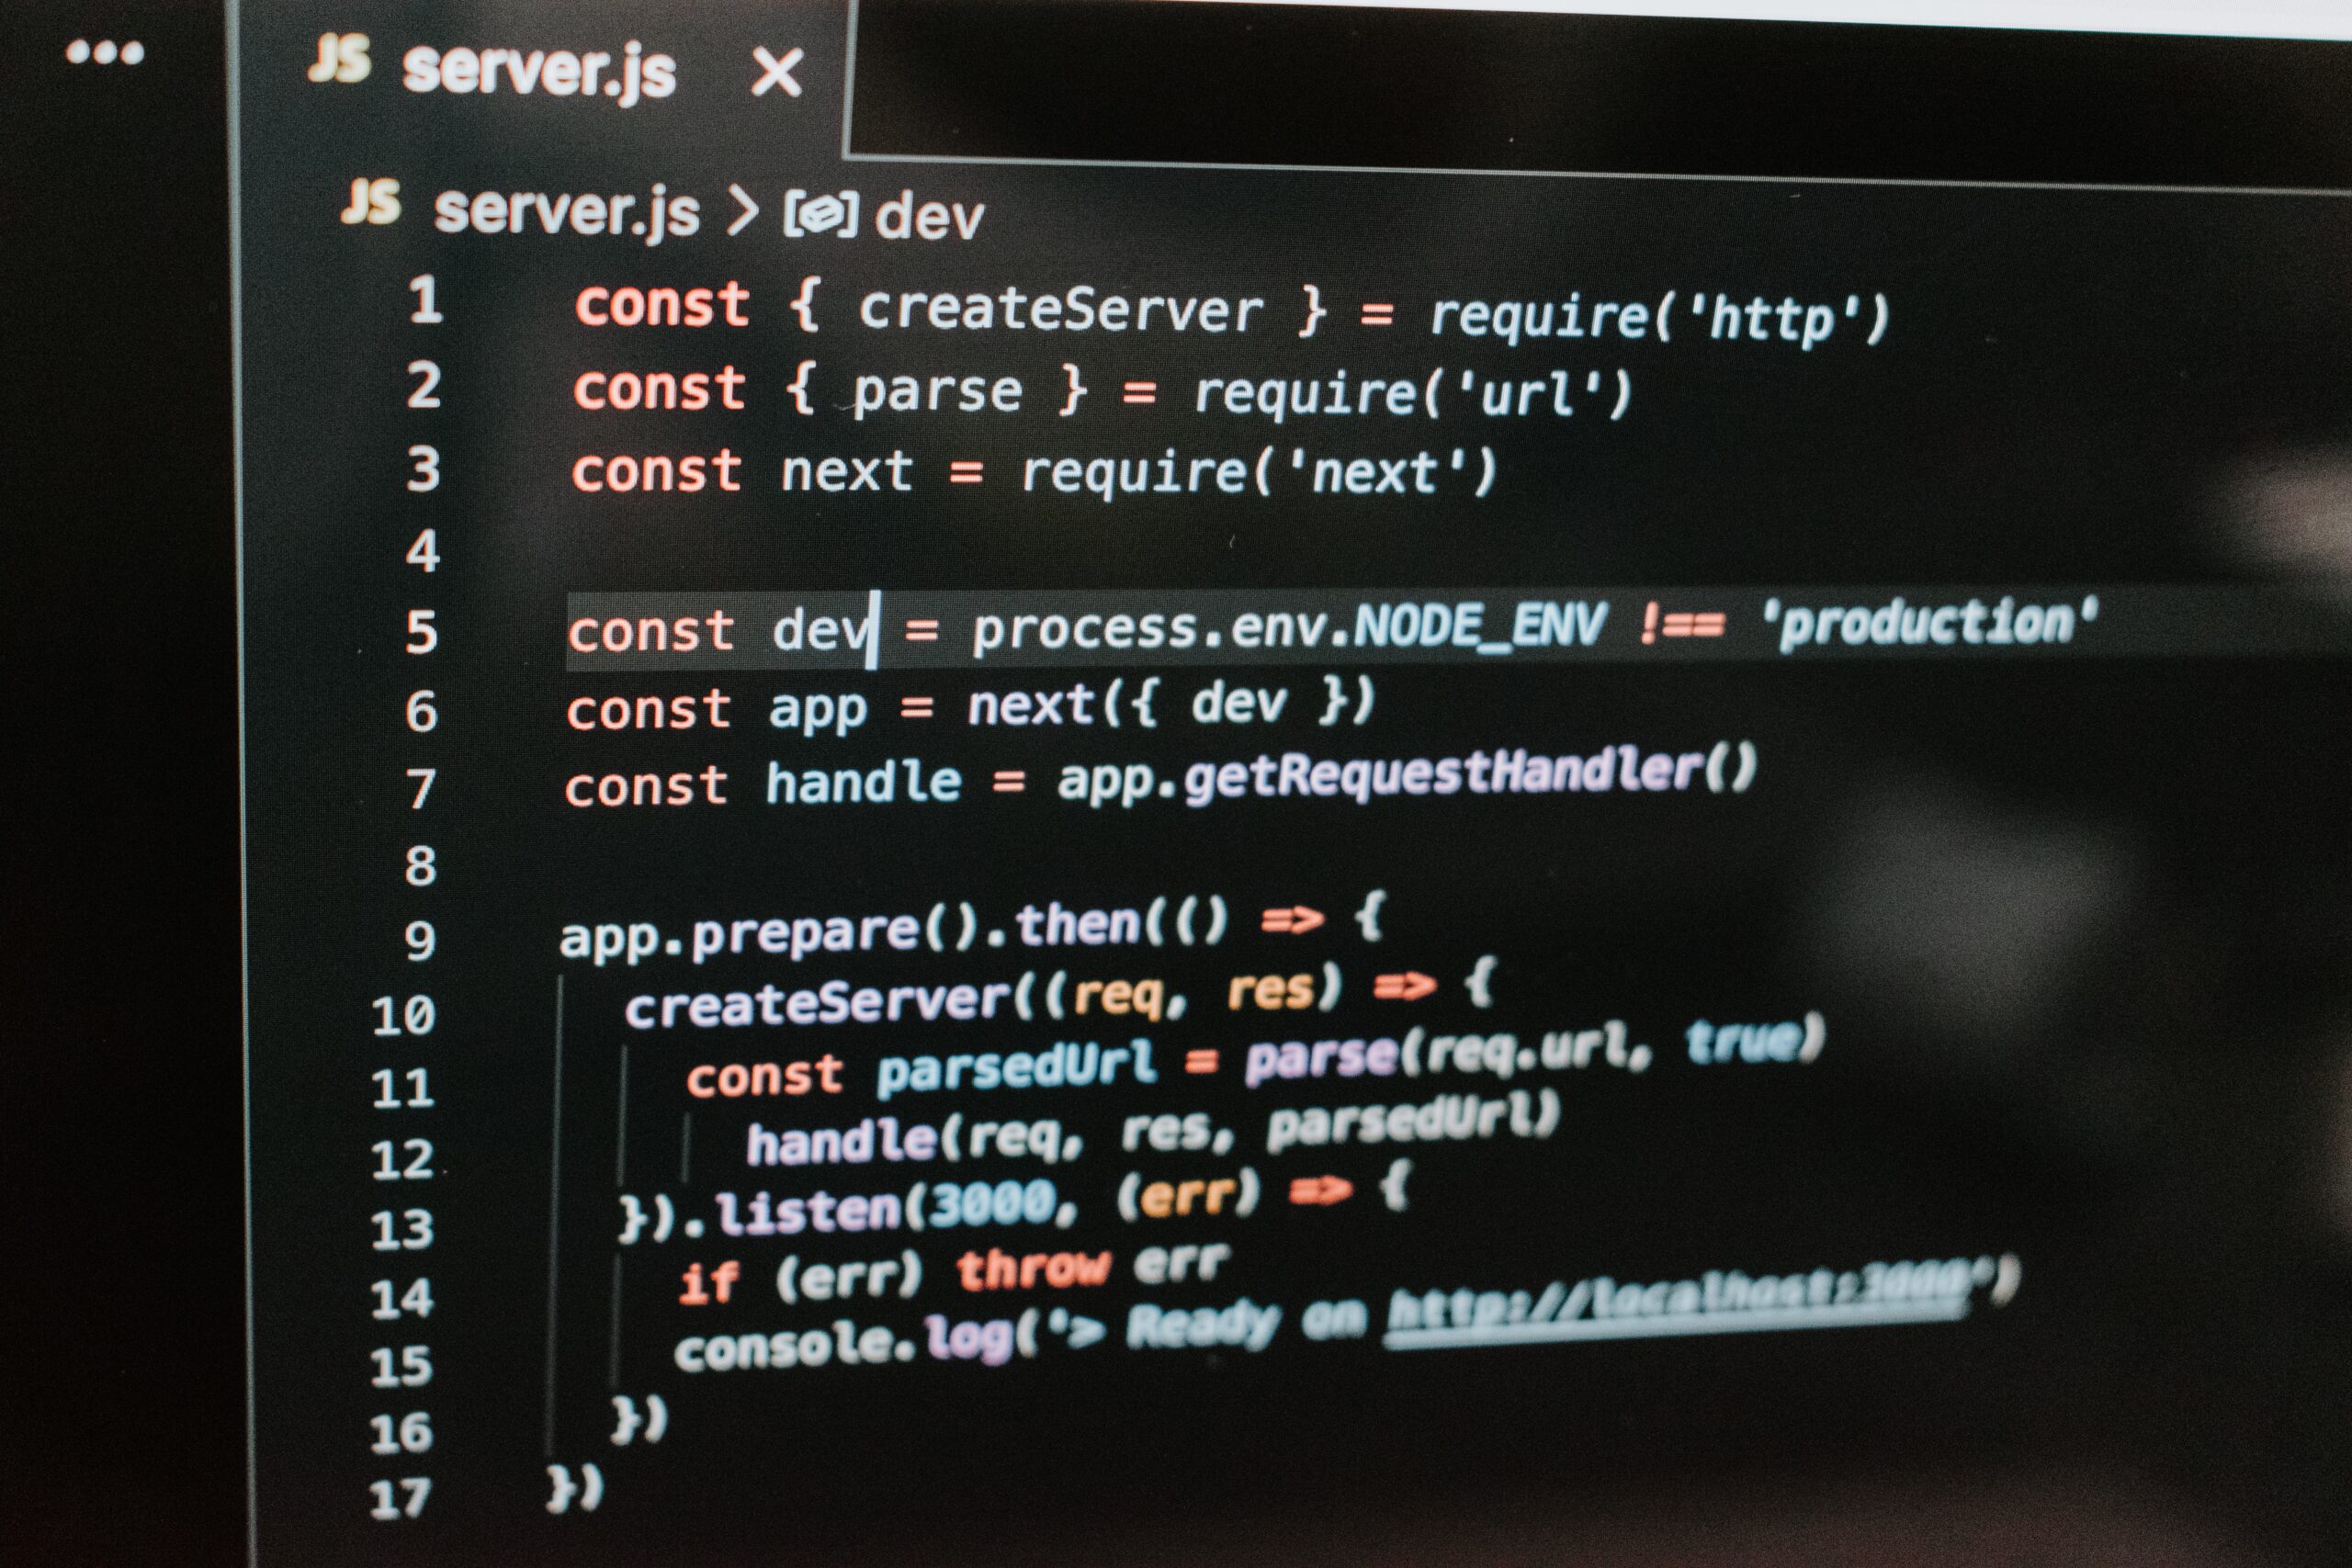
Creating a Simple Next.js App with a Headless WordPress Setup
Introduction
Are you looking to create a modern and dynamic website that combines the power of Next.js with the versatility of WordPress? Look no further! In this blog post, we will guide you through the process of building a simple Next.js app using a headless WordPress setup. This powerful combination allows you to take advantage of the robust content management features of WordPress while leveraging the flexibility and performance of Next.js.
Whether you’re a web developer, a business owner, or simply someone who wants to have a cutting-edge website, this tutorial will provide you with all the steps you need to get started.
Step 1: Setting Up WordPress
The first step is to set up a headless WordPress installation. This means that we will be using WordPress solely as a content management system (CMS) and not as the frontend of our website. Fortunately, setting up a headless WordPress is a straightforward process.
You can install WordPress on your local machine using a local development environment like XAMPP or MAMP. Alternatively, you can use a hosting provider that offers WordPress installations. Once your WordPress is up and running, make sure to create a few sample blog posts and pages to have some content to work with.
Step 2: Creating a Next.js Project
Now that we have our WordPress installation ready, it’s time to create our Next.js project. Next.js is a powerful React framework that enables server-side rendering and other modern web development features.
To create a new Next.js project, you’ll need to have Node.js installed on your machine. Once you have Node.js installed, open your terminal and run the following command:
npx create-next-app my-next-appThis will set up a new Next.js project in a folder named ‘my-next-app’. Navigate to the project folder by running:
cd my-next-appStep 3: Connecting Next.js with WordPress
Now that we have both WordPress and Next.js set up, we need to connect the two. To do this, we’ll be using the WordPress REST API, which allows us to retrieve content from our WordPress installation.
In your Next.js project, create a new folder called ‘pages’ if it doesn’t already exist. Inside the ‘pages’ folder, create a new file called ‘index.js’.
In the ‘index.js’ file, add the following code:
import React from 'react';const HomePage = ({ posts }) => { return ( <div> <h1>Latest Blog Posts</h1> <ul> {posts.map(post => ( <li key={post.id}> <h2>{post.title.rendered}</h2> <div> <p>{post.excerpt.rendered}</p> <a href={post.link}>Read More</a> </div> </li> ))} </ul> </div> ); };
export async function getStaticProps() { const res = await fetch(‘https://your-wordpress-site.com/wp-json/wp/v2/posts’); const posts = await res.json();
return { props: { posts } }; }
export default HomePage;
This code creates a simple homepage that fetches the latest blog posts from our WordPress installation using the WordPress REST API. You can customize the layout and styling of the page to match your website’s design.
Conclusion
By following these three steps, you have successfully created a simple Next.js app using a headless WordPress setup. You now have the best of both worlds: the powerful content management features of WordPress and the speed and flexibility of Next.js.
Feel free to explore additional features and possibilities with Next.js and WordPress. With this foundation, you are well on your way to building a top-notch website that will impress your clients and visitors.